How Heat Damages Hair & Easy Ways To Protect Your Strands
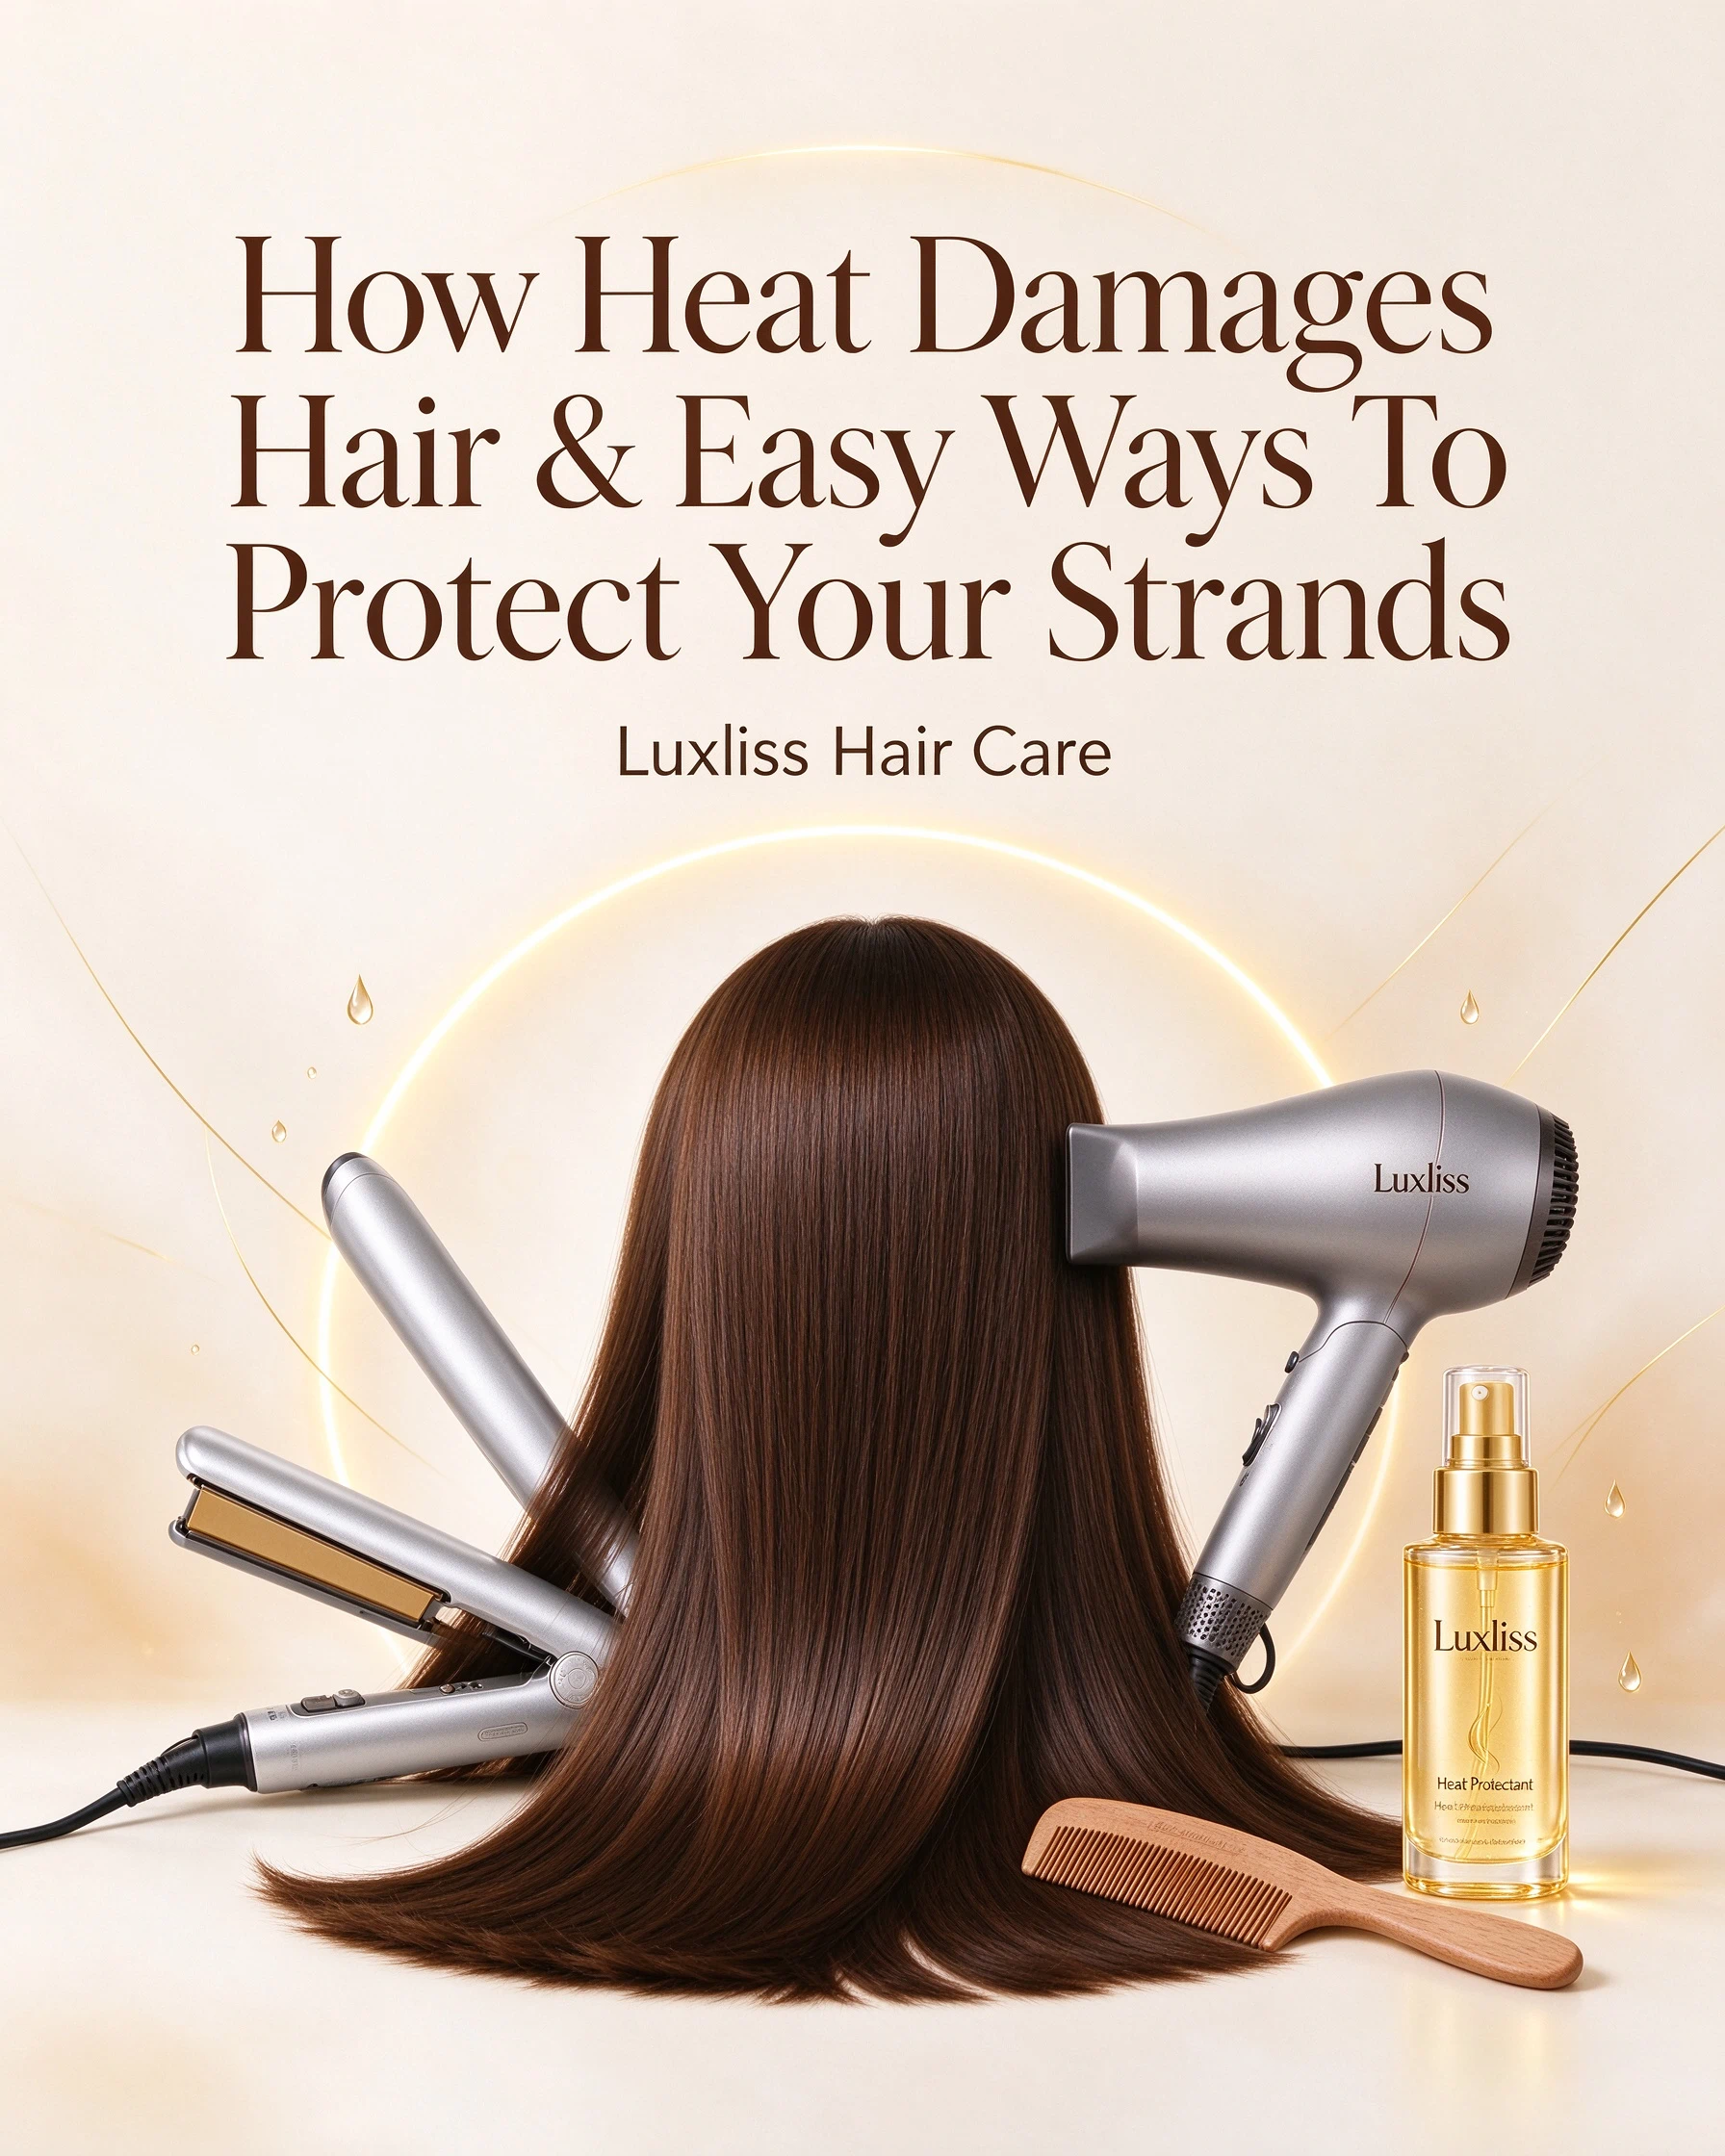
How Heat Damages Hair & Easy Ways To Protect Your Strands
Straighteners, curling wands, and hairdryers let you nail every sleek, bouncy style you see on social media — but repeated high-heat styling quietly takes a toll on your strands. The damage doesn't show up overnight: it builds up slowly, starting with dryness and dullness, and can progress to brittleness and breakage over time. The good news? You don't have to give up your favorite styles to keep your hair healthy. Small, consistent changes to your styling routine can cut heat damage dramatically, without sacrificing your look.
How Heat Actually Damages Your Hair
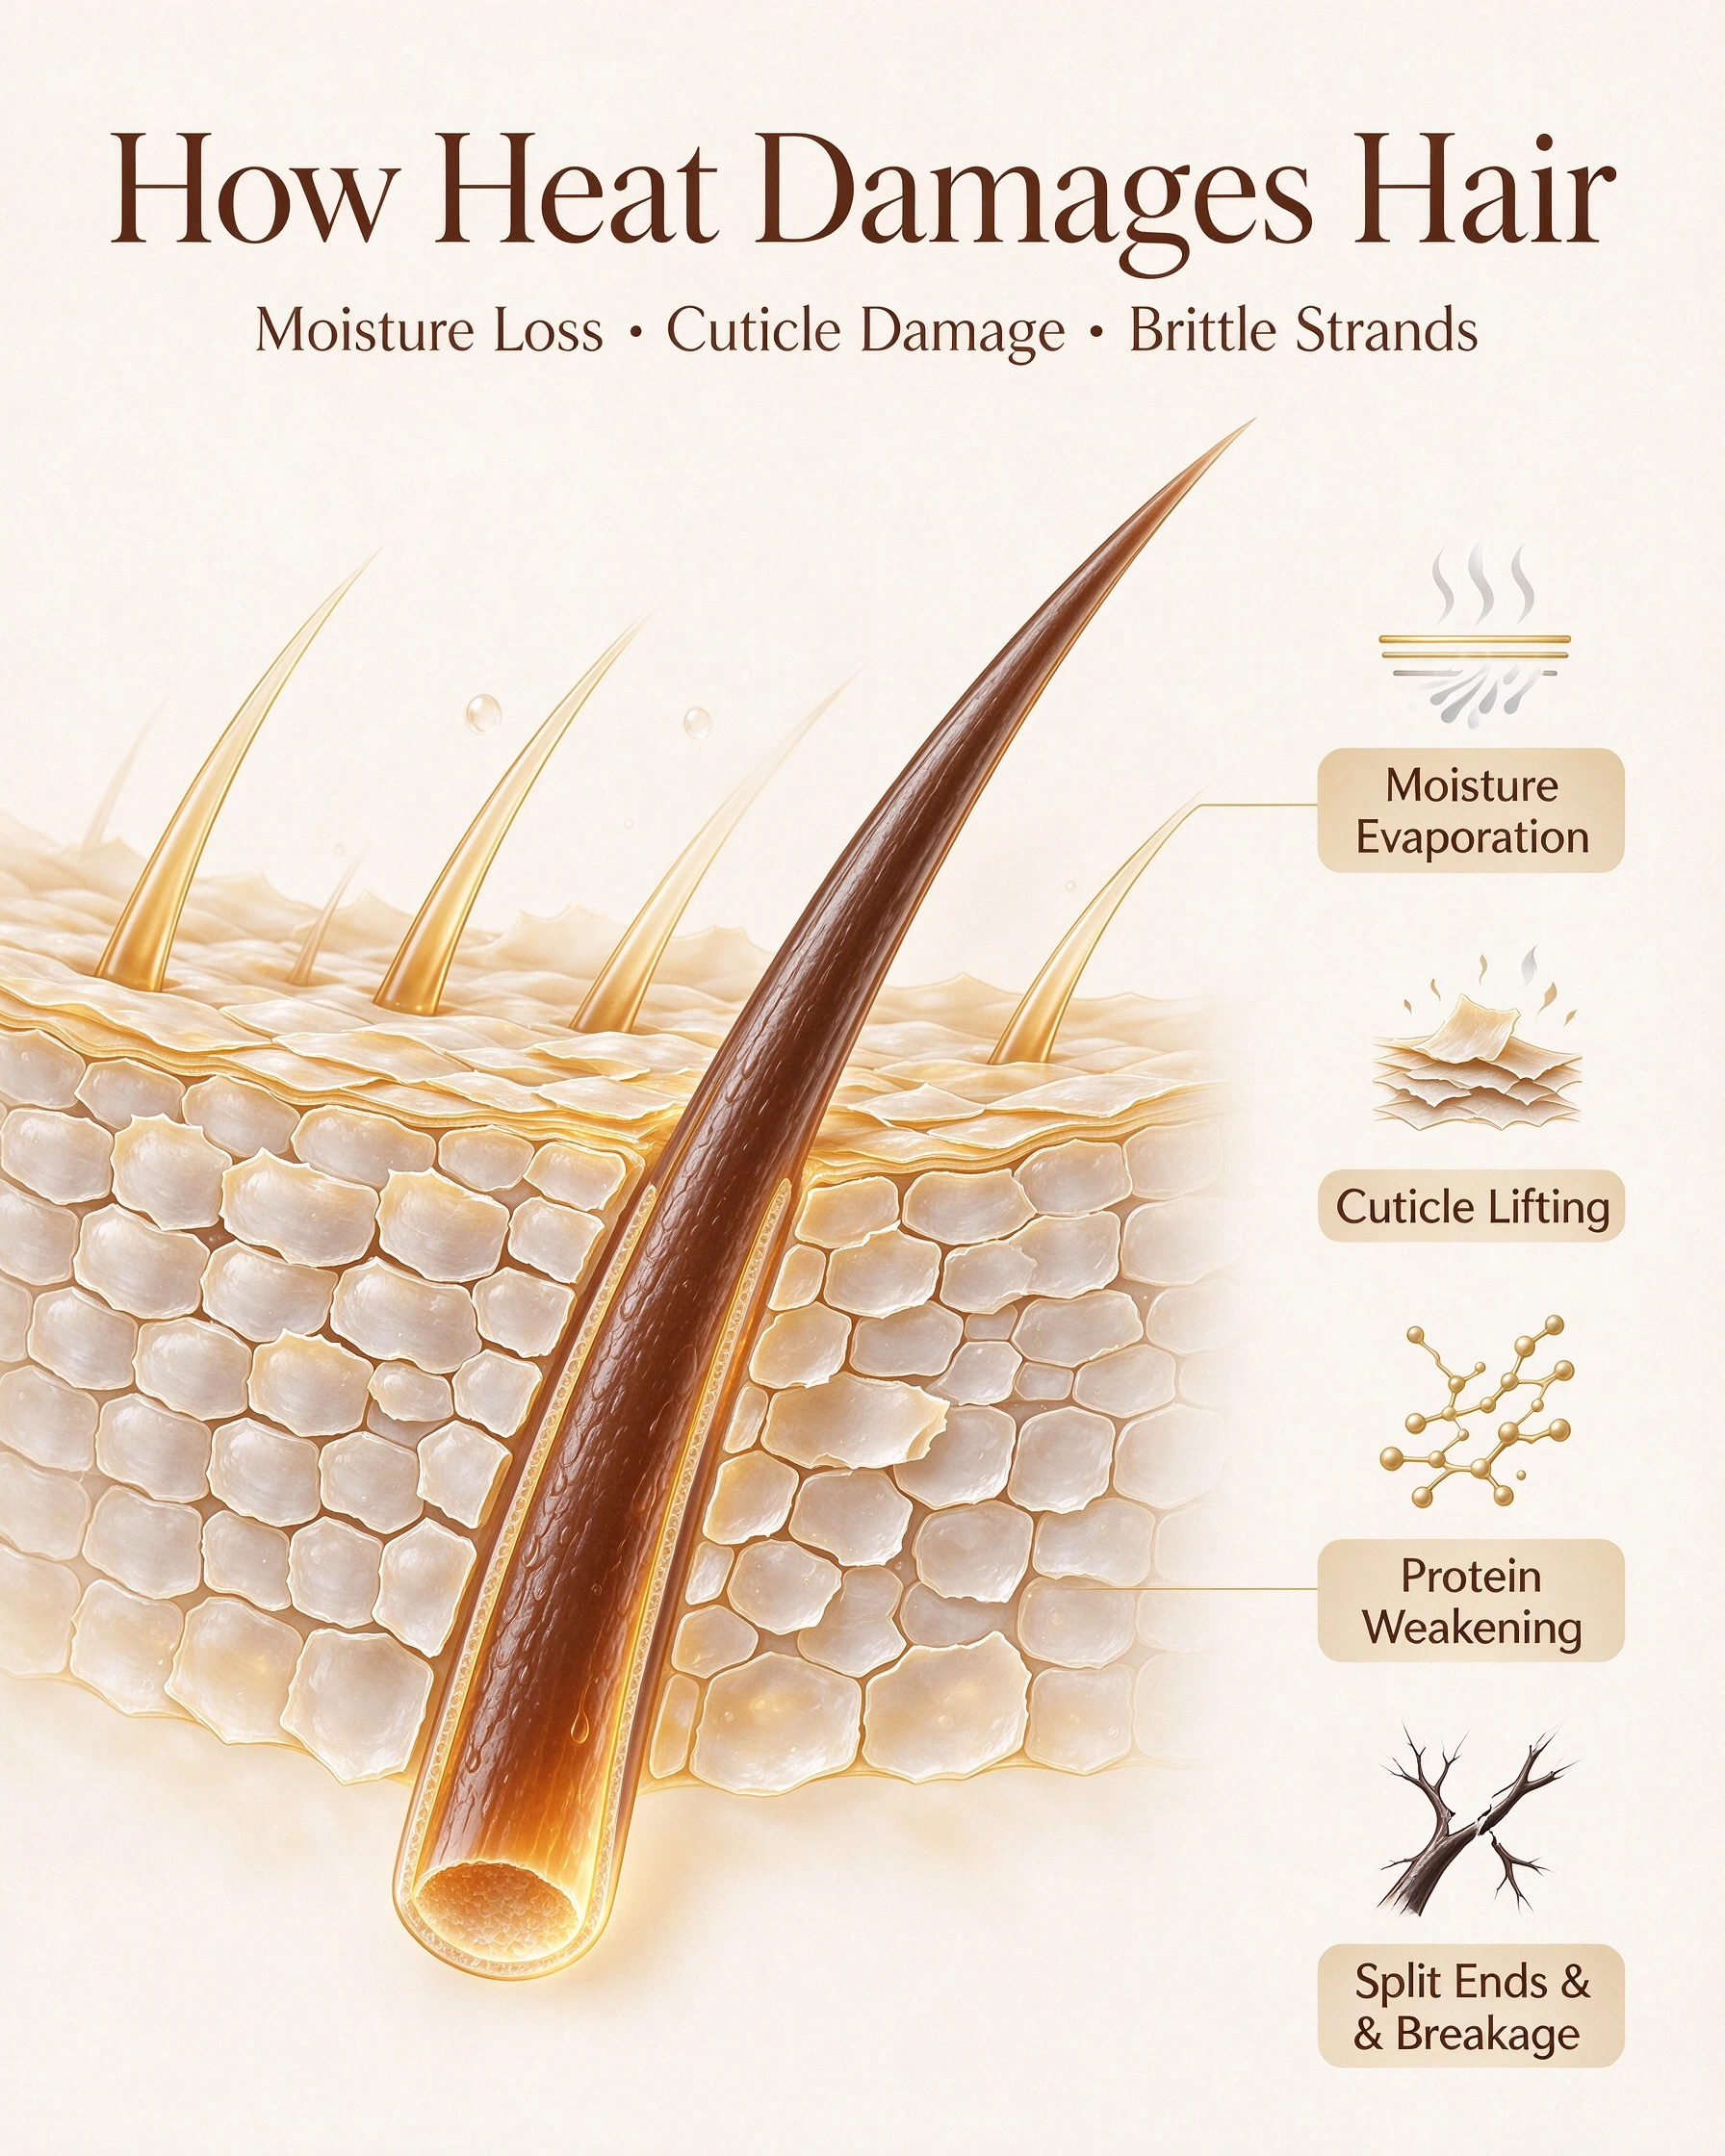
Each hair strand is made of two core parts: a hard, protective outer cuticle layer, and an inner cortex that holds your hair’s strength, elasticity, and natural moisture balance. When high heat makes direct contact with your hair:
- Natural moisture and oils evaporate quickly, leaving strands dry and rough
- The outer cuticle lifts, leaving the inner cortex vulnerable to friction and breakage
- Structural protein weakens over time, reducing hair's natural elasticity
- Once the cuticle is worn down, light reflects unevenly — leaving hair looking dull instead of glossy
Heat damage is a cumulative process: it rarely causes obvious breakage on the first use, but builds up with every styling session.
What Causes Unnecessary Heat Damage?
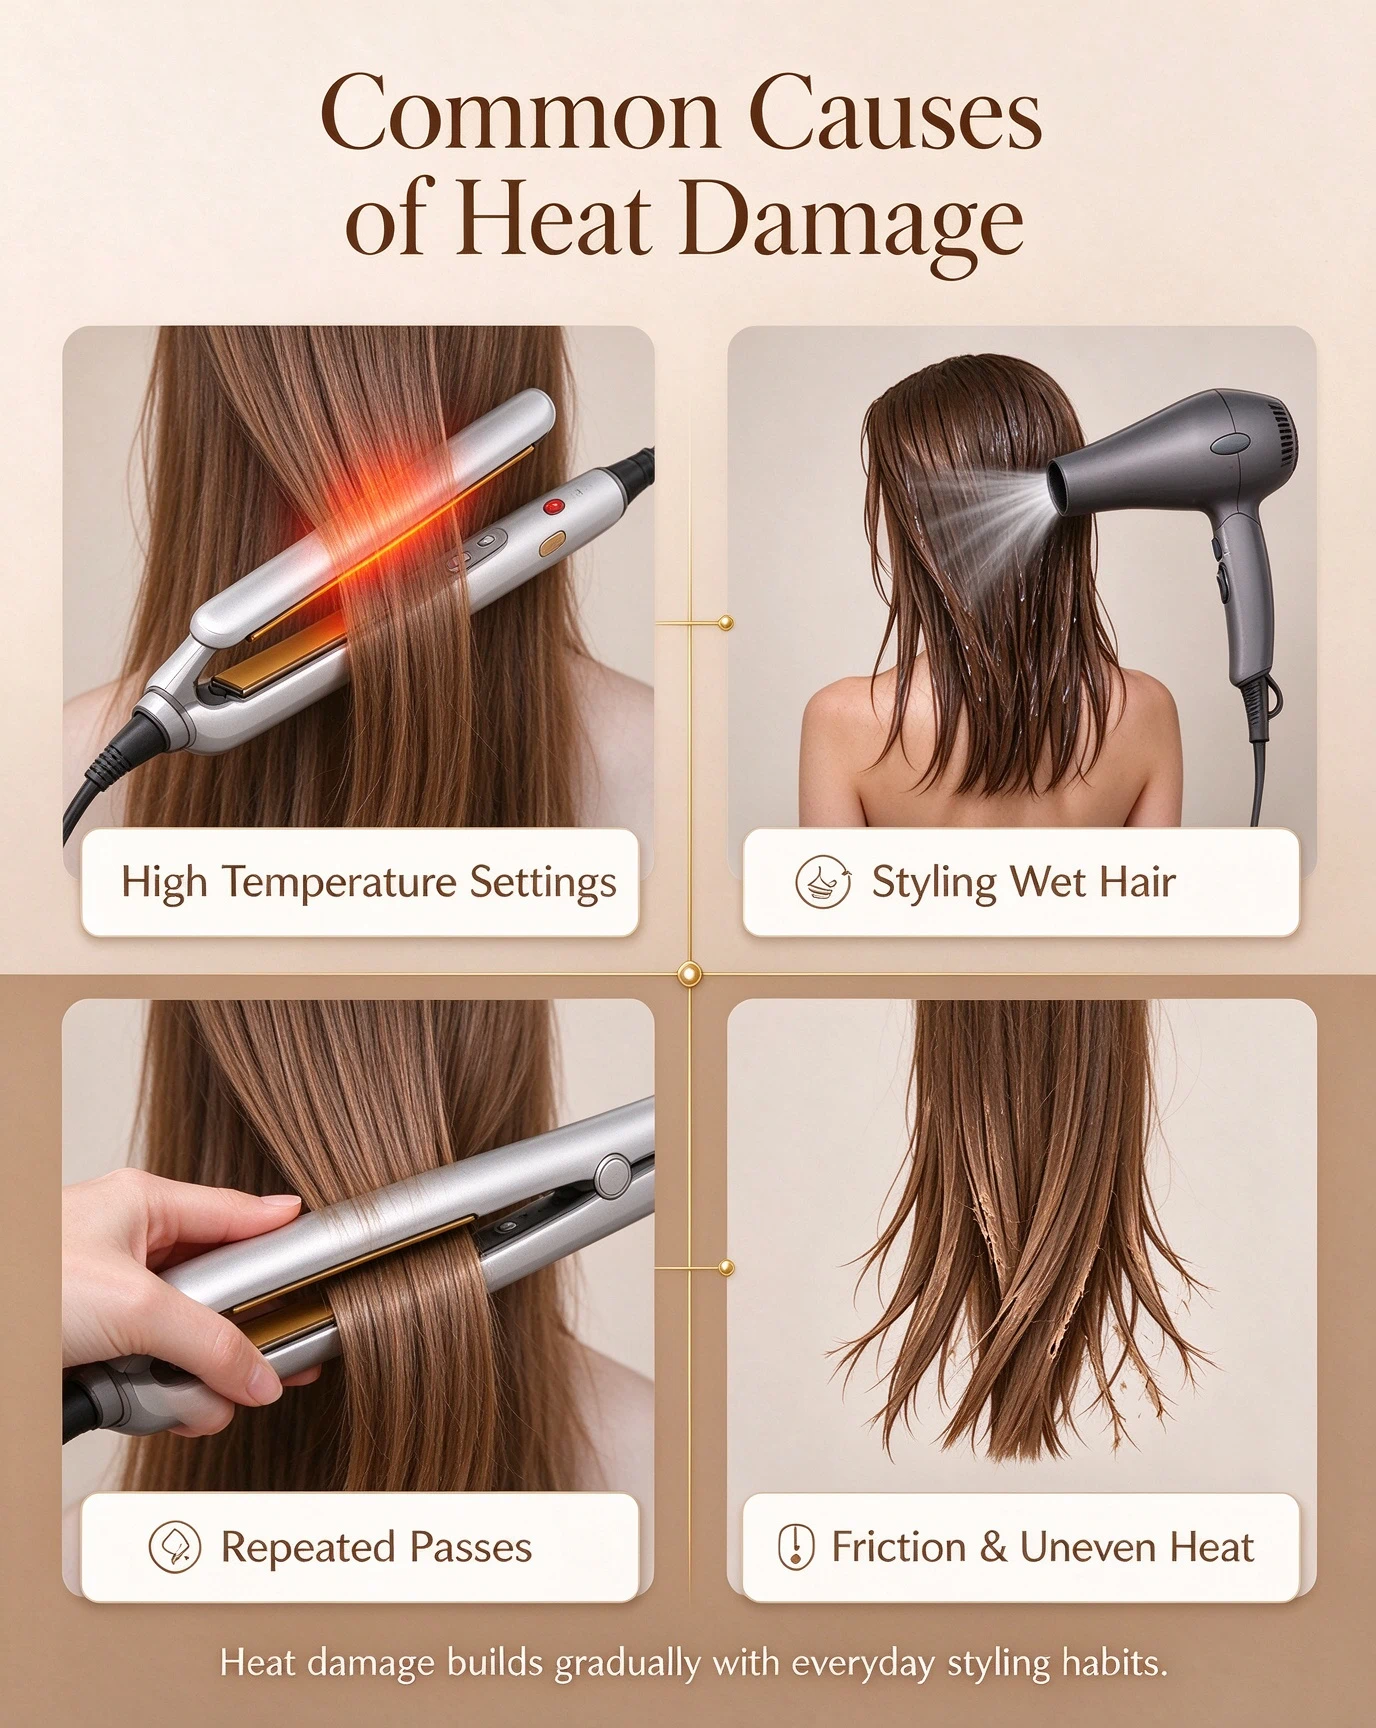
Most heat damage isn't caused by styling itself — it's caused by small, repeated habits that add extra stress to strands:
- Cranking tools to the highest temperature setting without adjusting for your hair type
- Skipping heat protectant before every styling session
- Applying high heat to damp or partially wet hair (trapped water turns to steam and expands inside the strand)
- Repeatedly clamping the same section of hair 3+ times to get the style right
- Using worn-out tools with scratched plates or uneven heat distribution
To help you style more safely, here's a quick reference for the maximum heat temperature recommended for different hair types:
| Hair Type | Recommended Max Heat | Styling Tip |
|---|---|---|
| Fine / Color-Treated / Chemically Processed | Under 180°C (350°F) | Start on the lowest setting that works for your style |
| Normal / Healthy Untreated | 180–200°C (350–390°F) | Medium settings are usually enough for sleek or curly looks |
| Thick / Coarse / Natural Textured | 200–220°C (390–430°F) | Never exceed 230°C (450°F) on any hair type |
How to Spot Heat Damage Early
Heat damage rarely appears as a sudden catastrophe — it builds up in predictable stages. Refer to this table to catch it before it becomes permanent:
| Early-Stage Signs | Advanced Damage Signs |
|---|---|
| Slight dryness after washing | Brittle strands that snap easily when brushed |
| More frizz and flyaways than usual | Visible split ends and frayed tips |
| Reduced shine, even after washing | Tangles that won't smooth out even with conditioner |
| Hair feels slightly rough to the touch | Uneven texture along the length of the strand |
If you notice advanced signs, pause high-heat styling for 1–2 weeks while you rebuild moisture, to prevent breakage from spreading up the hair shaft.
Easy, Low-Effort Ways to Protect Your Strands
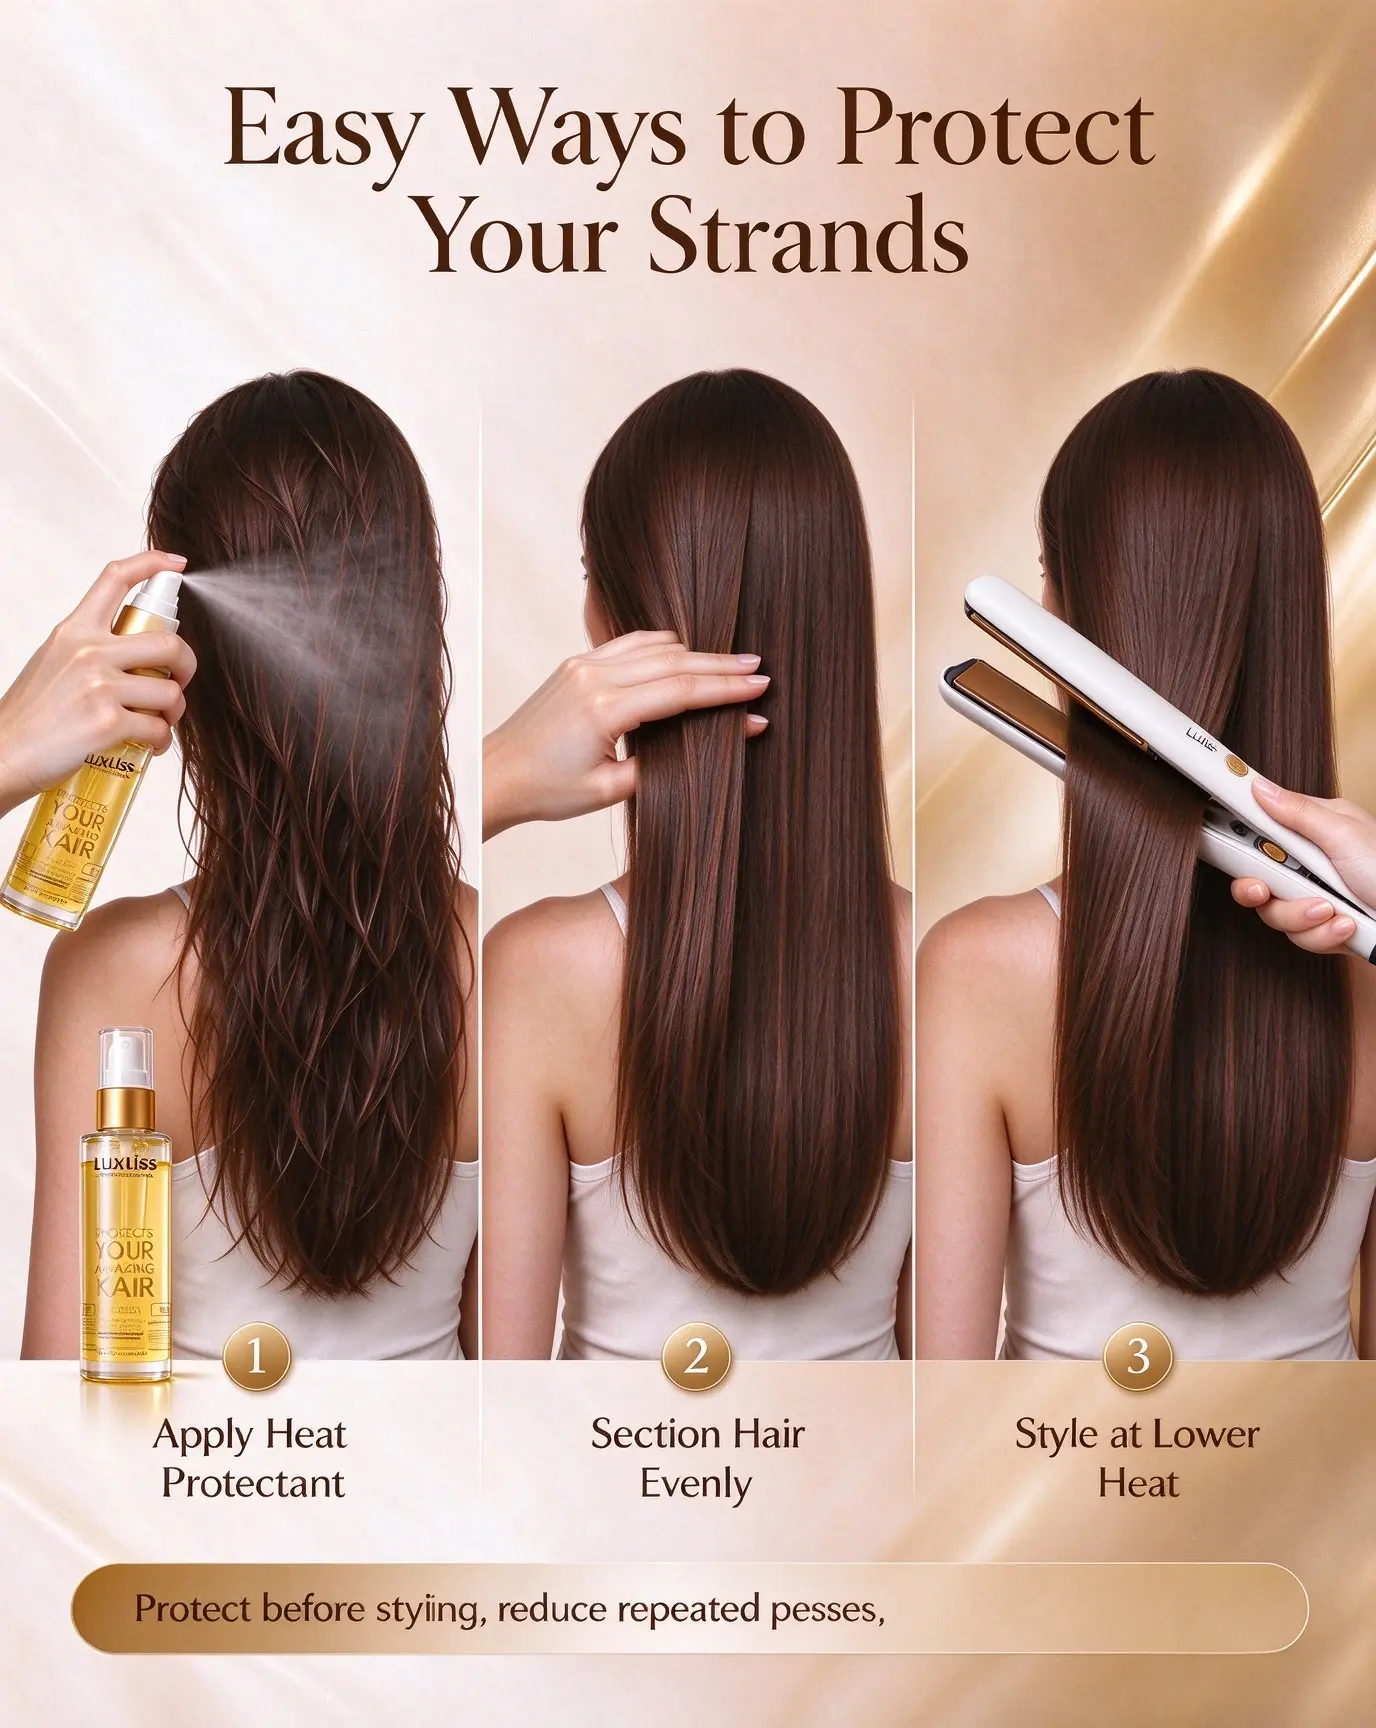
You don't need a 10-step routine to cut heat damage. These small, actionable habits make a big difference:
1. Always use a heat protectant
This is the single most effective step you can add to your routine. A lightweight protectant creates a barrier between your hair and hot tools, reducing direct heat exposure and locking in moisture before styling.
This lightweight keratin-infused spray smooths frizz and adds shine, so you get a polished finish without harsh heat impact.

2. Use the lowest effective temperature
You don't need max heat to get your style. Start on a medium setting, and only turn up the heat if your style isn't holding after 1–2 passes. Avoid leaving a clamped tool on one section for more than 2 seconds at a time.
3. Let hair air dry first
Styling completely soaking wet hair is one of the fastest ways to cause damage. Whenever you can, let your hair air dry 80–100% before using a straightener, curling wand, or hot brush. On busy mornings, use your hairdryer on the cool setting first.
4. Work in small, thin sections
Thick sections don't heat evenly, which pushes you to go over the same spot over and over again. Split hair into 1–2 inch sections, and use slow, smooth strokes for straightening or curling.
5. Add weekly repair care to your routine
Protection shouldn't only happen on styling days. Swap your regular conditioner for a nourishing hair mask once a week, to replenish moisture and rebuild strand strength.

6. Reduce friction on styled hair
Heat-stressed hair is extra vulnerable to tugging and friction. Use a wide-tooth comb instead of a tight bristle brush on wet hair, avoid rubbing hair roughly with a towel, and skip super-tight hairstyles while your hair recovers.
The Luxliss Approach to Heat-Smart Styling
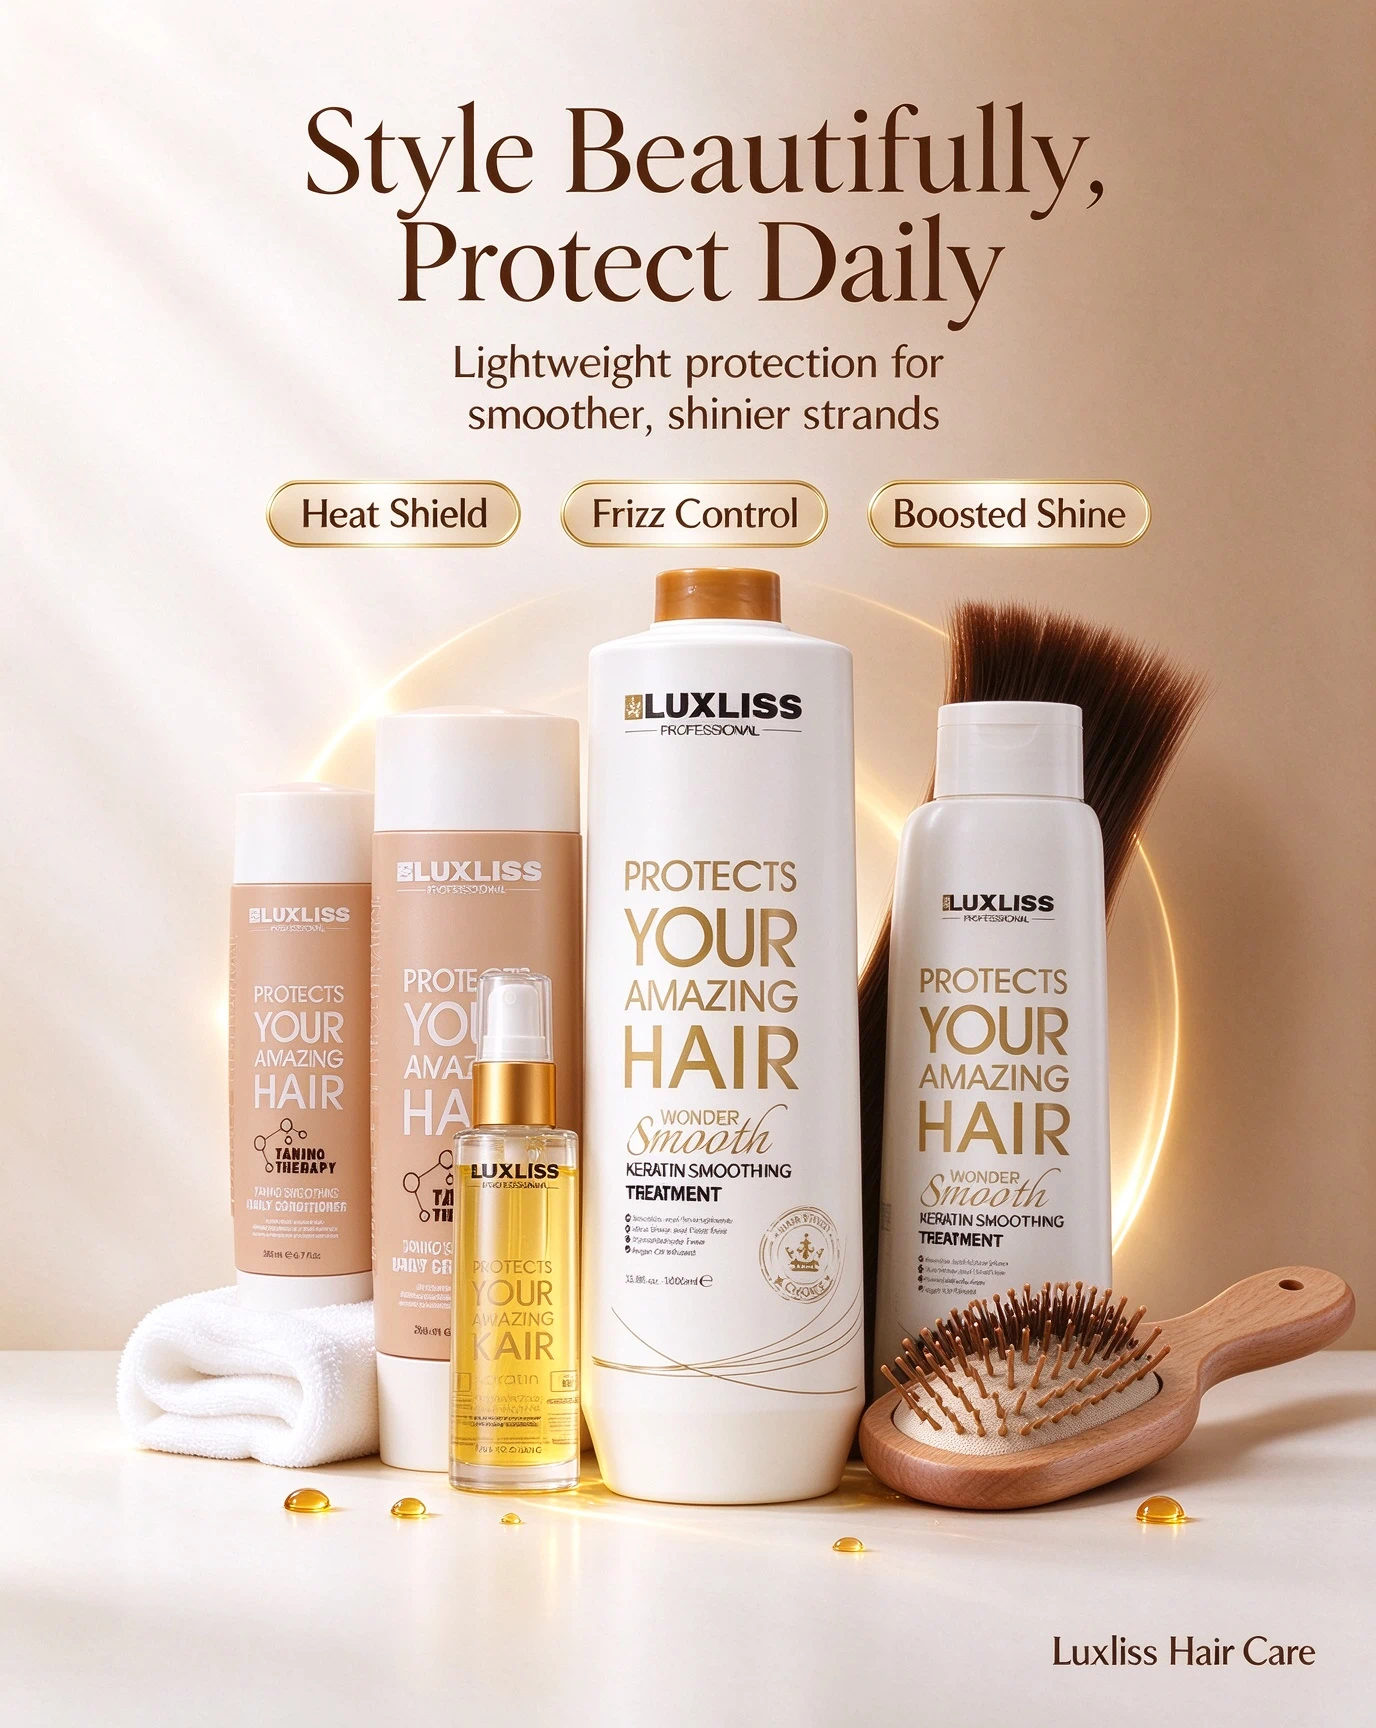
At Luxliss, we believe great hair shouldn't come at the cost of long-term strand health. Our heat protection and repair collection is built for regular, real-life styling: lightweight enough for daily use, effective enough to smooth frizz, add shine, and reduce the visible signs of heat wear. Whether you're going for pin-straight sleekness or soft, bouncy curls, the right routine helps you get your look without compromising the health of your hair over time.
Final Thoughts
Heat damage builds up gradually, which makes it easy to ignore until split ends and breakage are hard to manage. But the fix doesn't have to be complicated: use a heat protectant every time, turn down your tool temperature, skip styling wet hair, and add a little weekly moisture care. Protecting your strands doesn't mean giving up the styles you love. It just means styling a little more intentionally — so your hair stays smooth, shiny, and healthy, even on busy styling days.
Why Is My Hair Always Frizzy? Simple Explanation & Fixes